
Learn the art of traditional fitted upholstery
Alison Scott upholstery
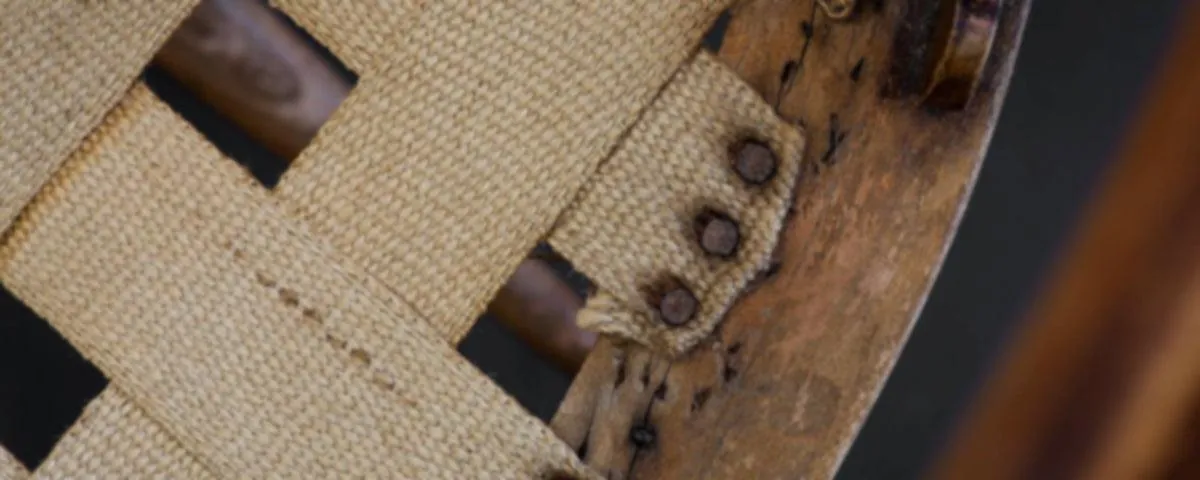
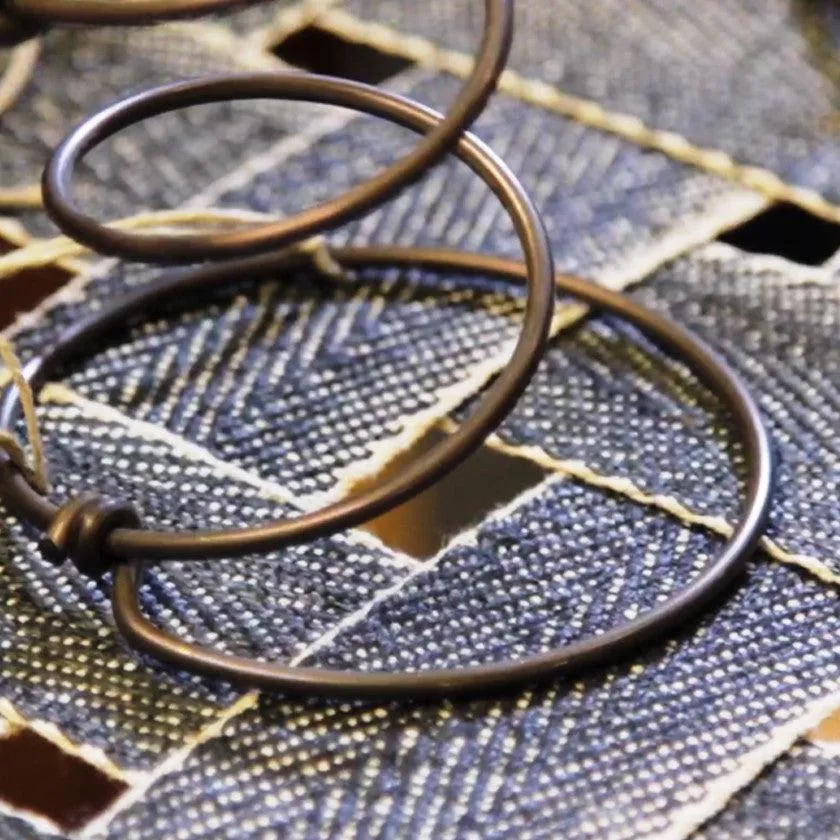
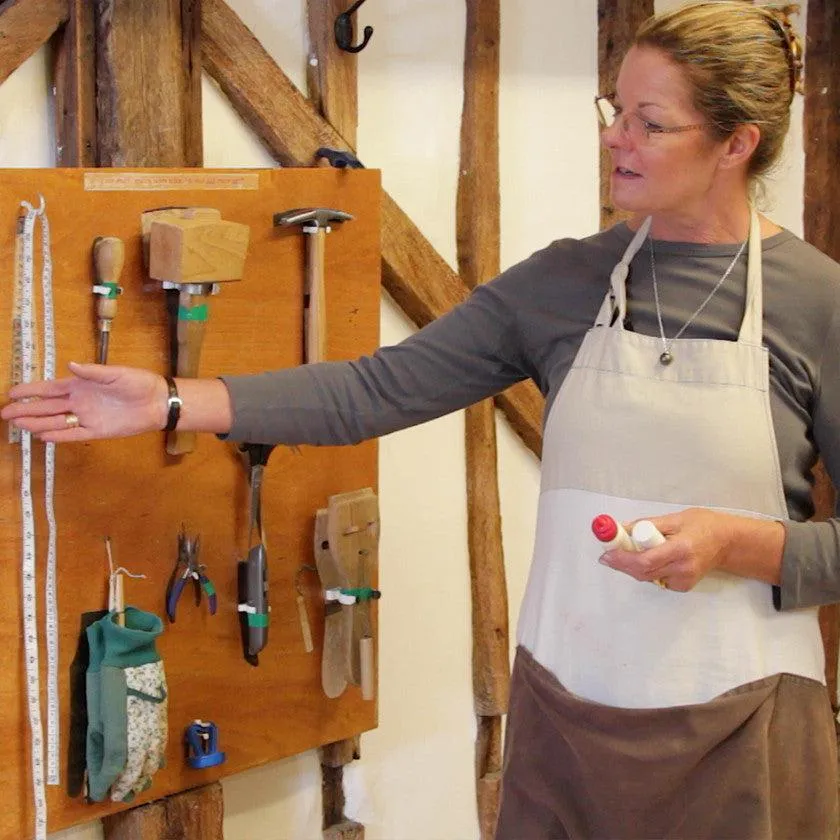
Whatever your level of expertise, Alison Scott's video tutorials bring to life the methods and materials of traditional upholstery. Brimming with advice and
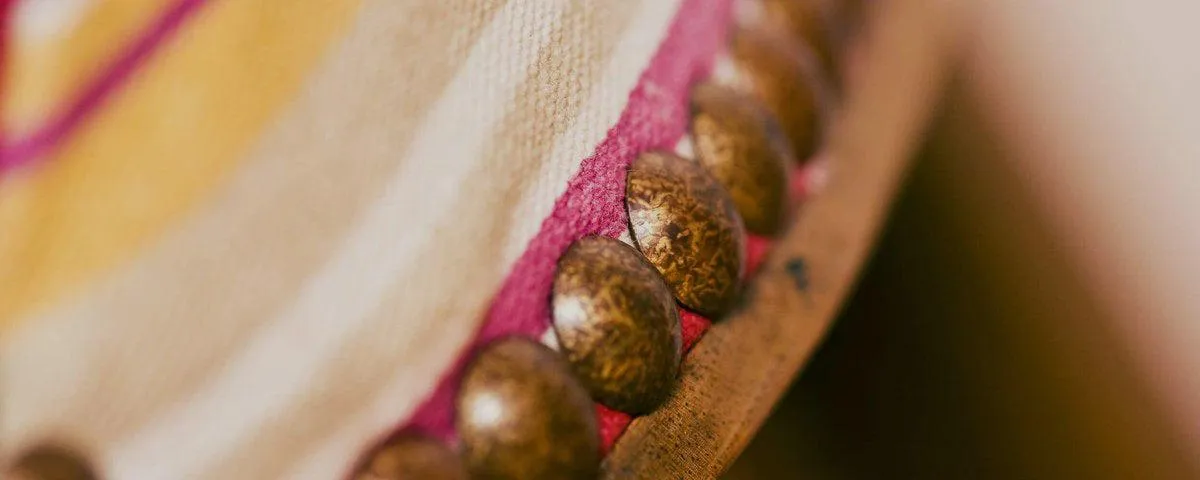
how-to tips, the video tutorials teach the essential skills and techniques from stripping back to the bare frame to fitting the top cover.
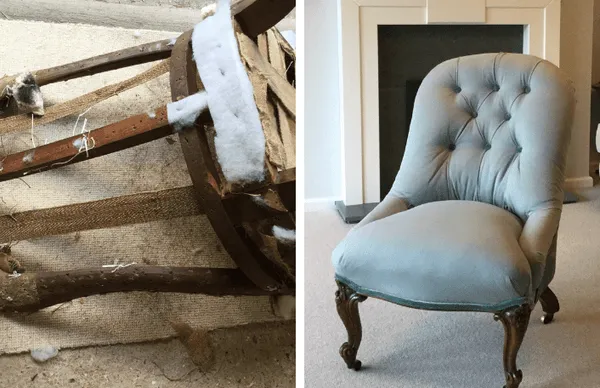
“The aim of my website is to teach people how to transform their own furniture into something special – to bring their old furniture back to life.”
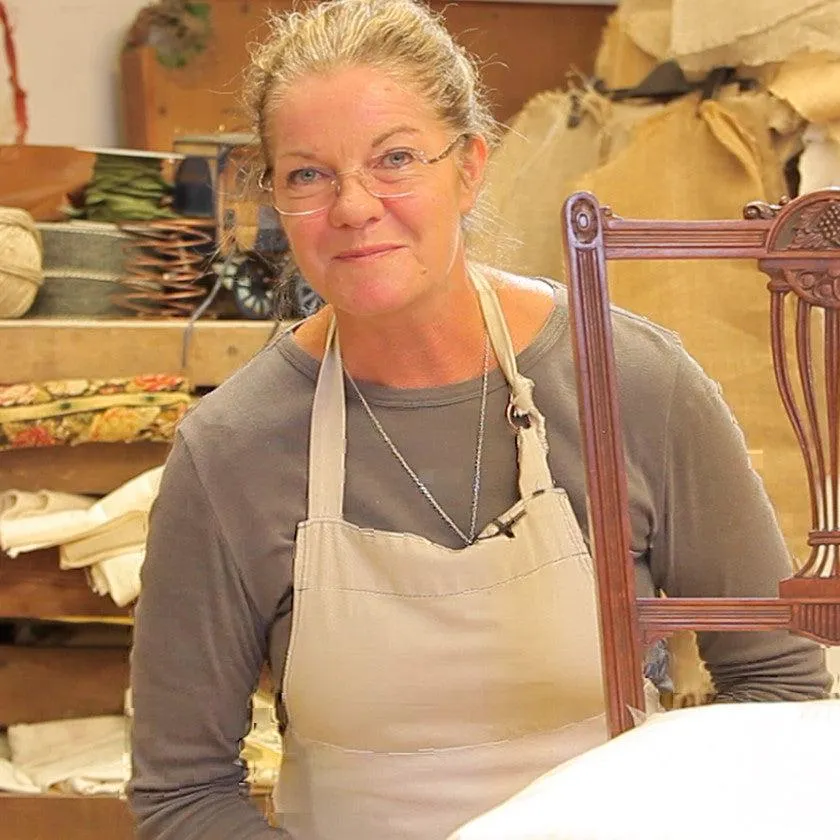
For over 35 years I have taught thousands of people of all ages how to restore and reupholster worn-out furniture.

Top tips and tricks to help you get the best results!
Our videos make upholstery come alive with easy to follow guides that you can watch again and again!
Don't just take our word for it, we have taught 1000's of people to learn upholstery.
“Bringing your old furniture to life”
Alison Scott Upholstery is your online training course hub which includes over 100 tailor made videos, teaching you step-by-step how to reupholster traditional furniture.
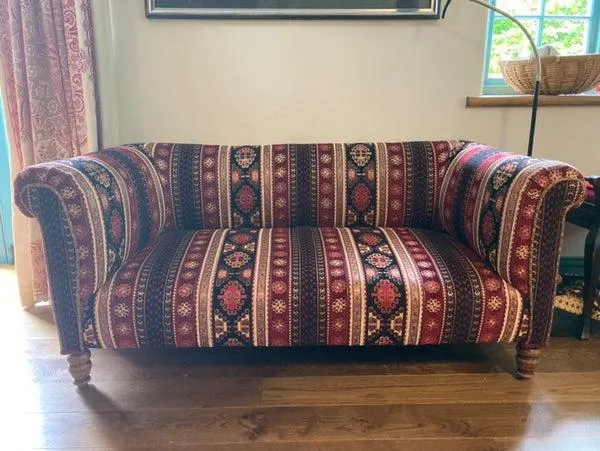
Chesterfield sofa completed using online tutorials & a feature in March 2024 Country Life
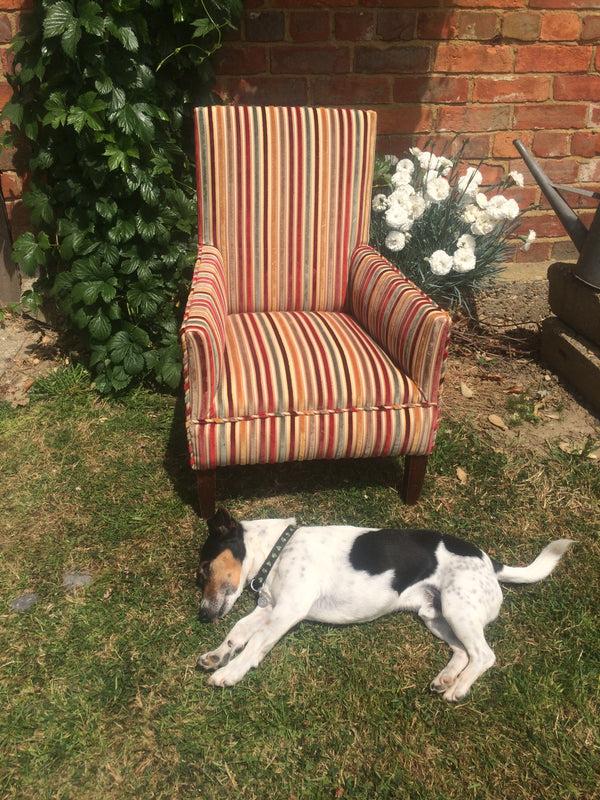
Chair for a Child ...... NOT for a Dog!!
"The tutorials really are excellent, clear, informative, good production and presenter!"
Transform your furniture into something special
Testimonials
"Love your course! It's given me the confidence to finally start a small project that years of reading through upholstery how-to books never could. "
Lynne
“I have been going through the videos which are so informative, interesting and clear. I am thankful that I have found the site and am enjoying it so much”
Julianne
“This is chair three that I have done using your tutorials - they are so clear and helpful, thank you!”
Laura
“I can't tell you how much I'm enjoying your course, and am watching and rewatching videos… Your instruction has made it all make so much more sense. I keep jotting down questions as I go along and often they're answered in subsequent videos. Thanks again for this great course and the help.”
Tim
"Your videos were so clear and your presentation and pace perfect for me.
Many thanks"
Carrie
Main menu
More Options
Social
Buy Gift Subscription
"Are you sitting uncomfortably? ....Then I'll begin."
Copyright 2026. Alison Scott Upholstery. All Rights Reserved.
Love my website? Built on Tekmatix.